Introduction:
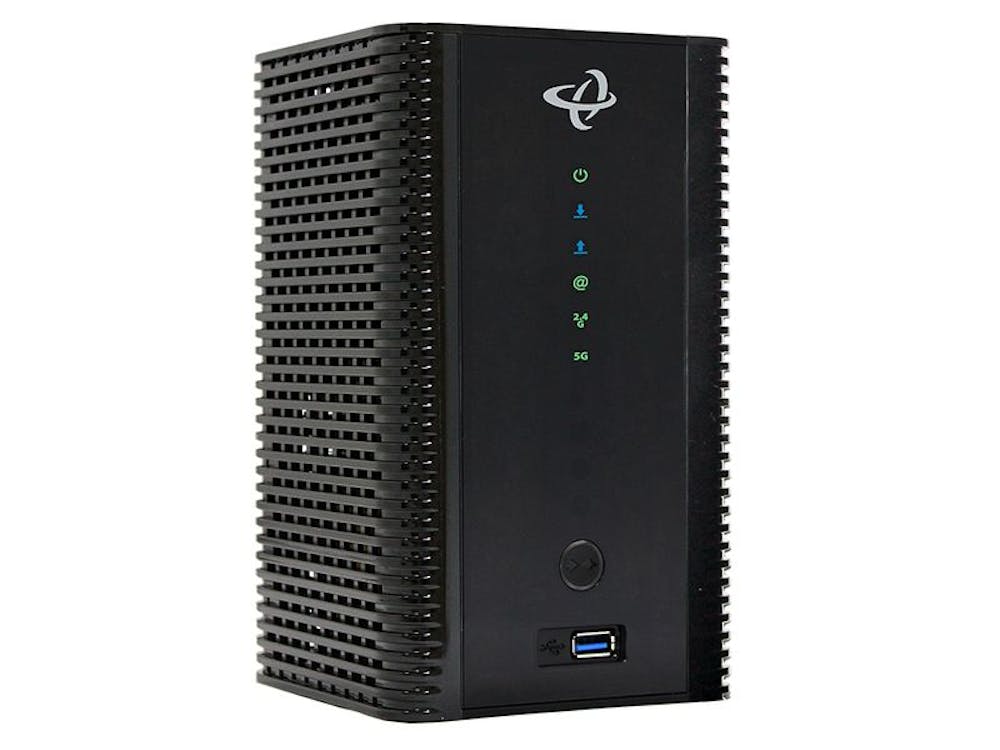
The Hitron CODA-4680 is a cable modem router combination unit that provides ethernet and wireless connectivity. See our video guide for this hardware here!
Hardware Specifications:
DOCSIS 3.0 (32x8) and DOCSIS 3.1 (2x2)
Intel Puma 7 chipset
4 port Gigabit Ethernet Router
Dual band 2.4Ghz 802.11n and 5Ghz 802.11ac
Wireless rating: AC2183 (450n + 1733ac)
Power Adapter: Built-in power supply; Requires a power cord with a polarized C7 connector.
Web UI Address:
Routed mode (default): 192.168.0.1
Bridge mode: 192.168.100.1
Default User Credentials:
Username: cusadmin
Password: Wifi key, which is set up during the Easy Connect configuration
Wireless Network Details:
SSID: CODAXXXXX-EasyConnect, XXXXX being the last 5 characters of the serial number
Wifi Key: none / Default password may also be the Serial Number on the label.
Both SSID and Wifi Keys are customized during the initial configuration.
Band-steering is enabled by default to improve wireless performance.
How to Factory Reset:
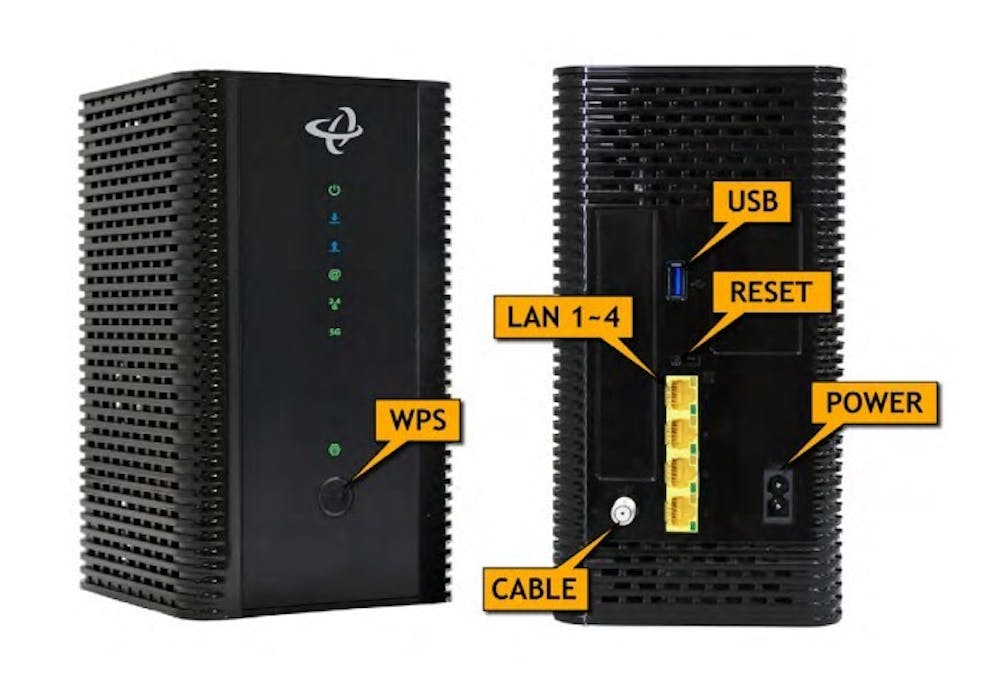
With the modem powered on, press and hold the RESET button on the rear panel for more than 5 seconds before releasing it.
If the button has been released under 5 seconds, the modem will only reboot, leaving the configuration intact
How to Set Up the WiFi Username & Password
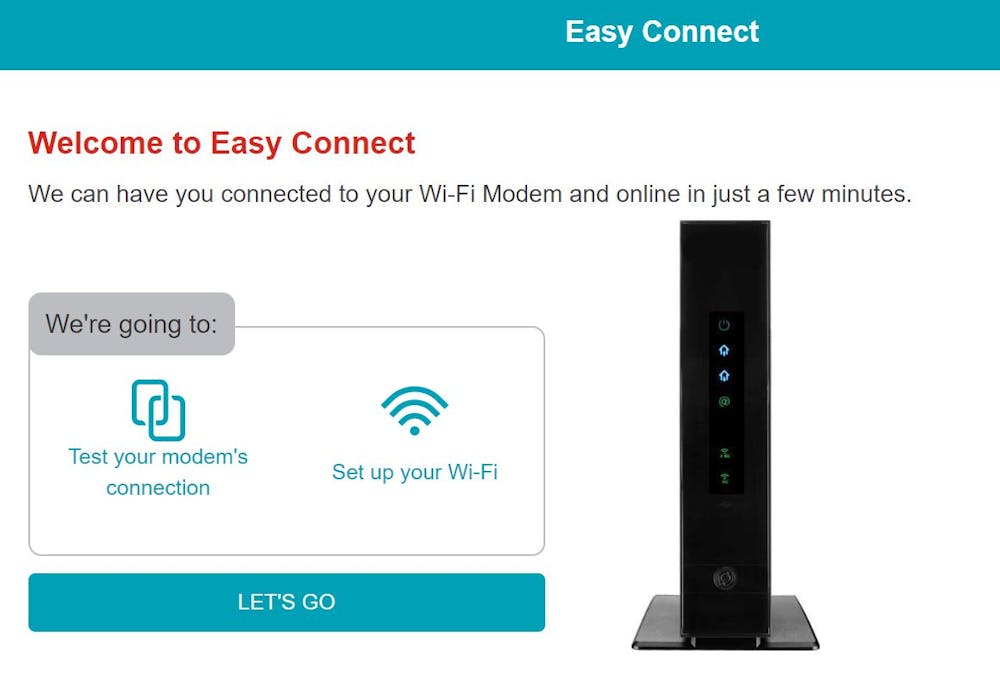
EasyConnect
The Hitron modem must be set up through EasyConnect before you can access the internet.
Connect to SSID: EasyConnect##### (last 5 digits of customers serial number). You can also use an ethernet connection.
If the EasyConnect page doesn't show, connect to 192.168.0.1.
Reboot the Hitron if you cannot open the EasyConnect screen.
Press [ LET'S GO ].
Continue with the prompts on screen. Create a wireless SSID and password.
Click Close once finished on the Review Stage
Connect to the new wireless network you created.
The connection should be online and the normal interface should be accessible via 192.168.0.1 (The admin password will now be the same as the wireless key.)
If you would like to disable band steering and change your wireless details after the initial setup please follow the below steps:
Access the modem interface (default IP: 192.168.0.1).
Username: cusadmin
Password: Wifi key, which is set up during the Easy Connect configuration
On the top menu, select "Wireless".
On the sub menu, select "Advanced".
Select the 2.4G tab.
Select "Disabled" at the "Band Steering" field.
Click on "Save Changes".
Select the 5G tab.
Select "Disabled" at the "Band Steering" field.
Click on "Save Changes".
On the sub menu, select "Basic Settings".
Select the 2.4G tab.
Under Multiple SSID Settings at the "Network Name (SSID)" field, ensure the 2.4 has 2.4 the name or is at least different from the 5G network.
Click on "Save Changes".
Select the 5G tab.
Under Multiple SSID Settings at the "Network Name (SSID)" field, ensure the 5G has 5 the name or is at least different from the 5G network.
Click on "Save Changes"
How to Set Up in Bridge Mode (to use a stand-alone router)
Disconnect the coaxial cord from the modem.
Access the modem interface (default IP: 192.168.0.1).
On the top menu, select "Basic".
Within the "Basic Settings" page, select the "Gateway Function" tab.
Select "Disabled" at the "Residential Gateway Function" field then click "OK" when prompted.
Click on "Save Changes". This action should reboot the modem.
Disconnect all devices that was connected in the ethernet ports of the modem, then connect the CPE (eg.: Router) into LAN port #1 (closest to the reset button).
Reconnect the coaxial cord.
Troubleshooting Information
WIFI Lights

Signal Lights

How to obtain diagnostic details:
Navigate to the user interface. (192.168.0.1)
Enter the administrative username and password in the Username and Password fields, then click Login.
Click on the Status tab.
Click on the DOCSIS Provisioning tab.
The cable modem statuses can be found under the DOCSIS Provisioning Status header.
Click on the DOCSIS WAN tab.
The power levels can be found under the Downstream Overview and Upstream Overview headers.
Click on the DOCSIS Event tab.
The cable modem logs can be found under the DOCSIS Logs header.
Further information can be found under the Overview, System Information and Wireless.
Gallery


